
How to Use Notes
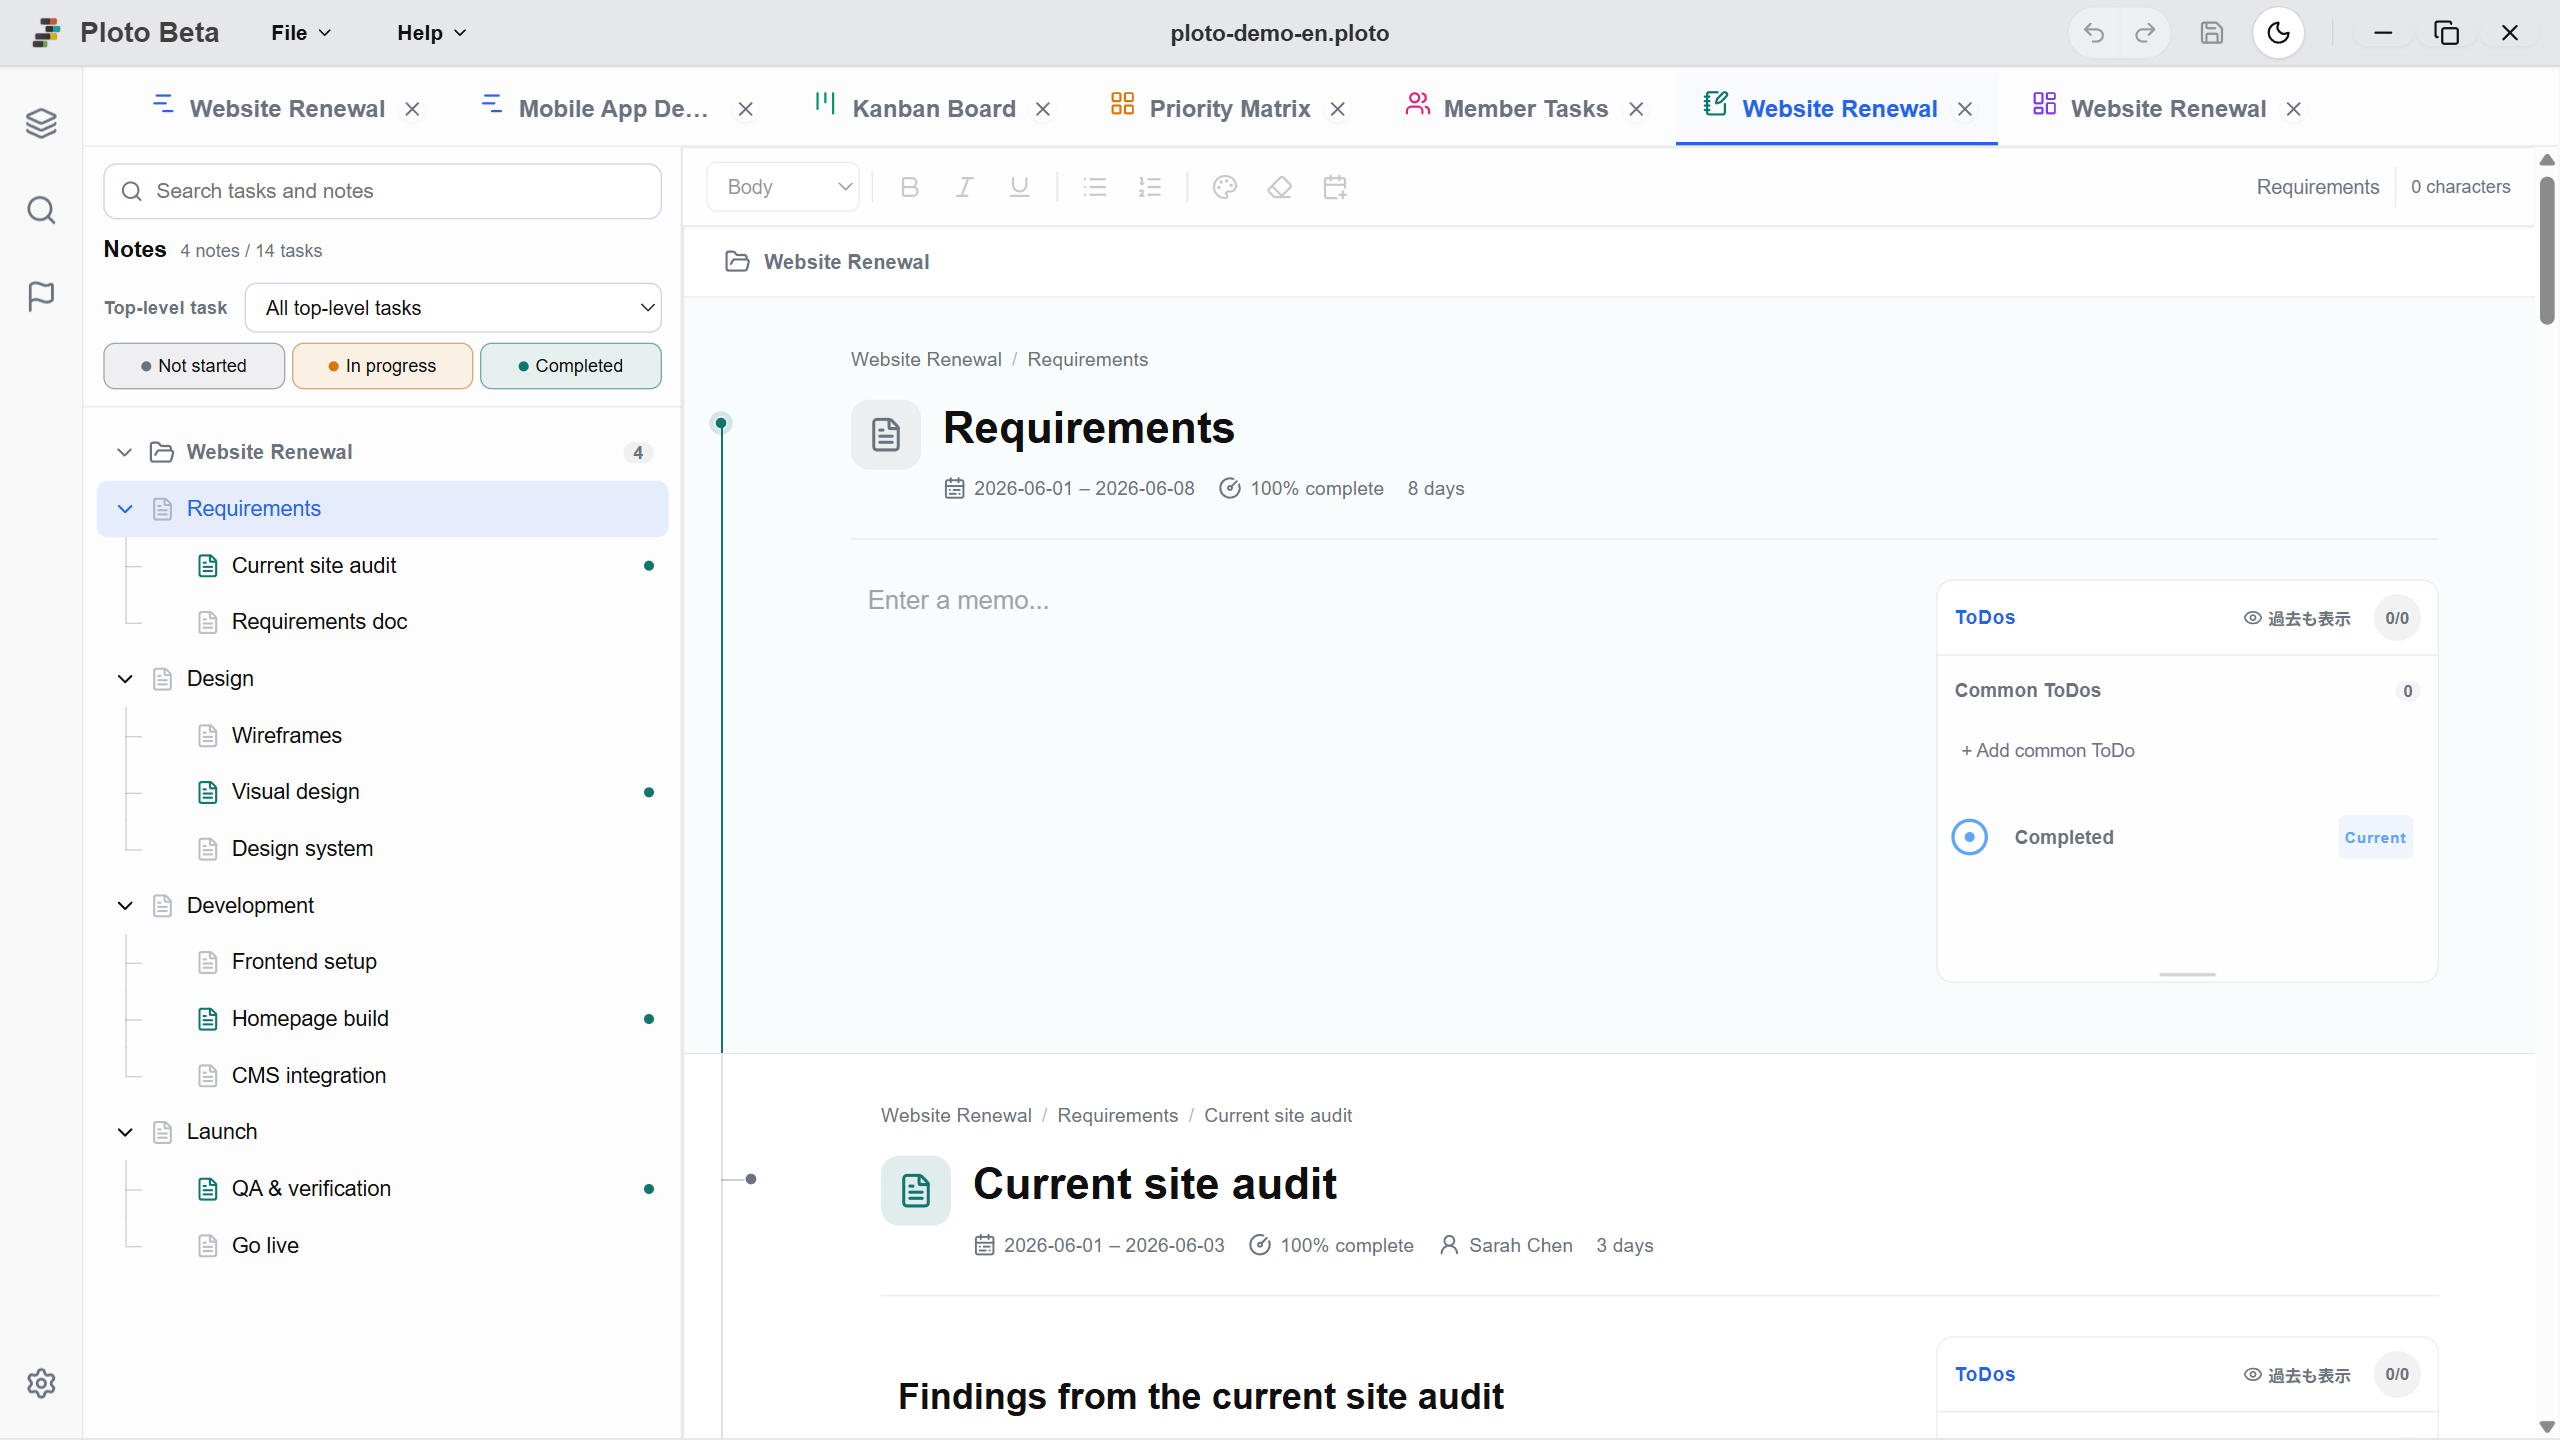
The Note view treats your project as a single long document, with tasks laid out from top to bottom. The outline on the left uses the parent-child structure of your Gantt chart as its chapter headings, so you never have to build a structure for meeting minutes or work logs yourself. Everything you write is stored against the task it belongs to, which spares you from hunting for which task a discussion was about.
1. Basic Operations
Add the view and the note opens ready to write in.
Adding a Note View
Click the 'List' button on the left sidebar, then press the '+' button next to 'Note'. Enter a name to confirm, and the note opens with the tasks you already created in the Gantt chart laid out in order.
Jumping to a Task from the Outline
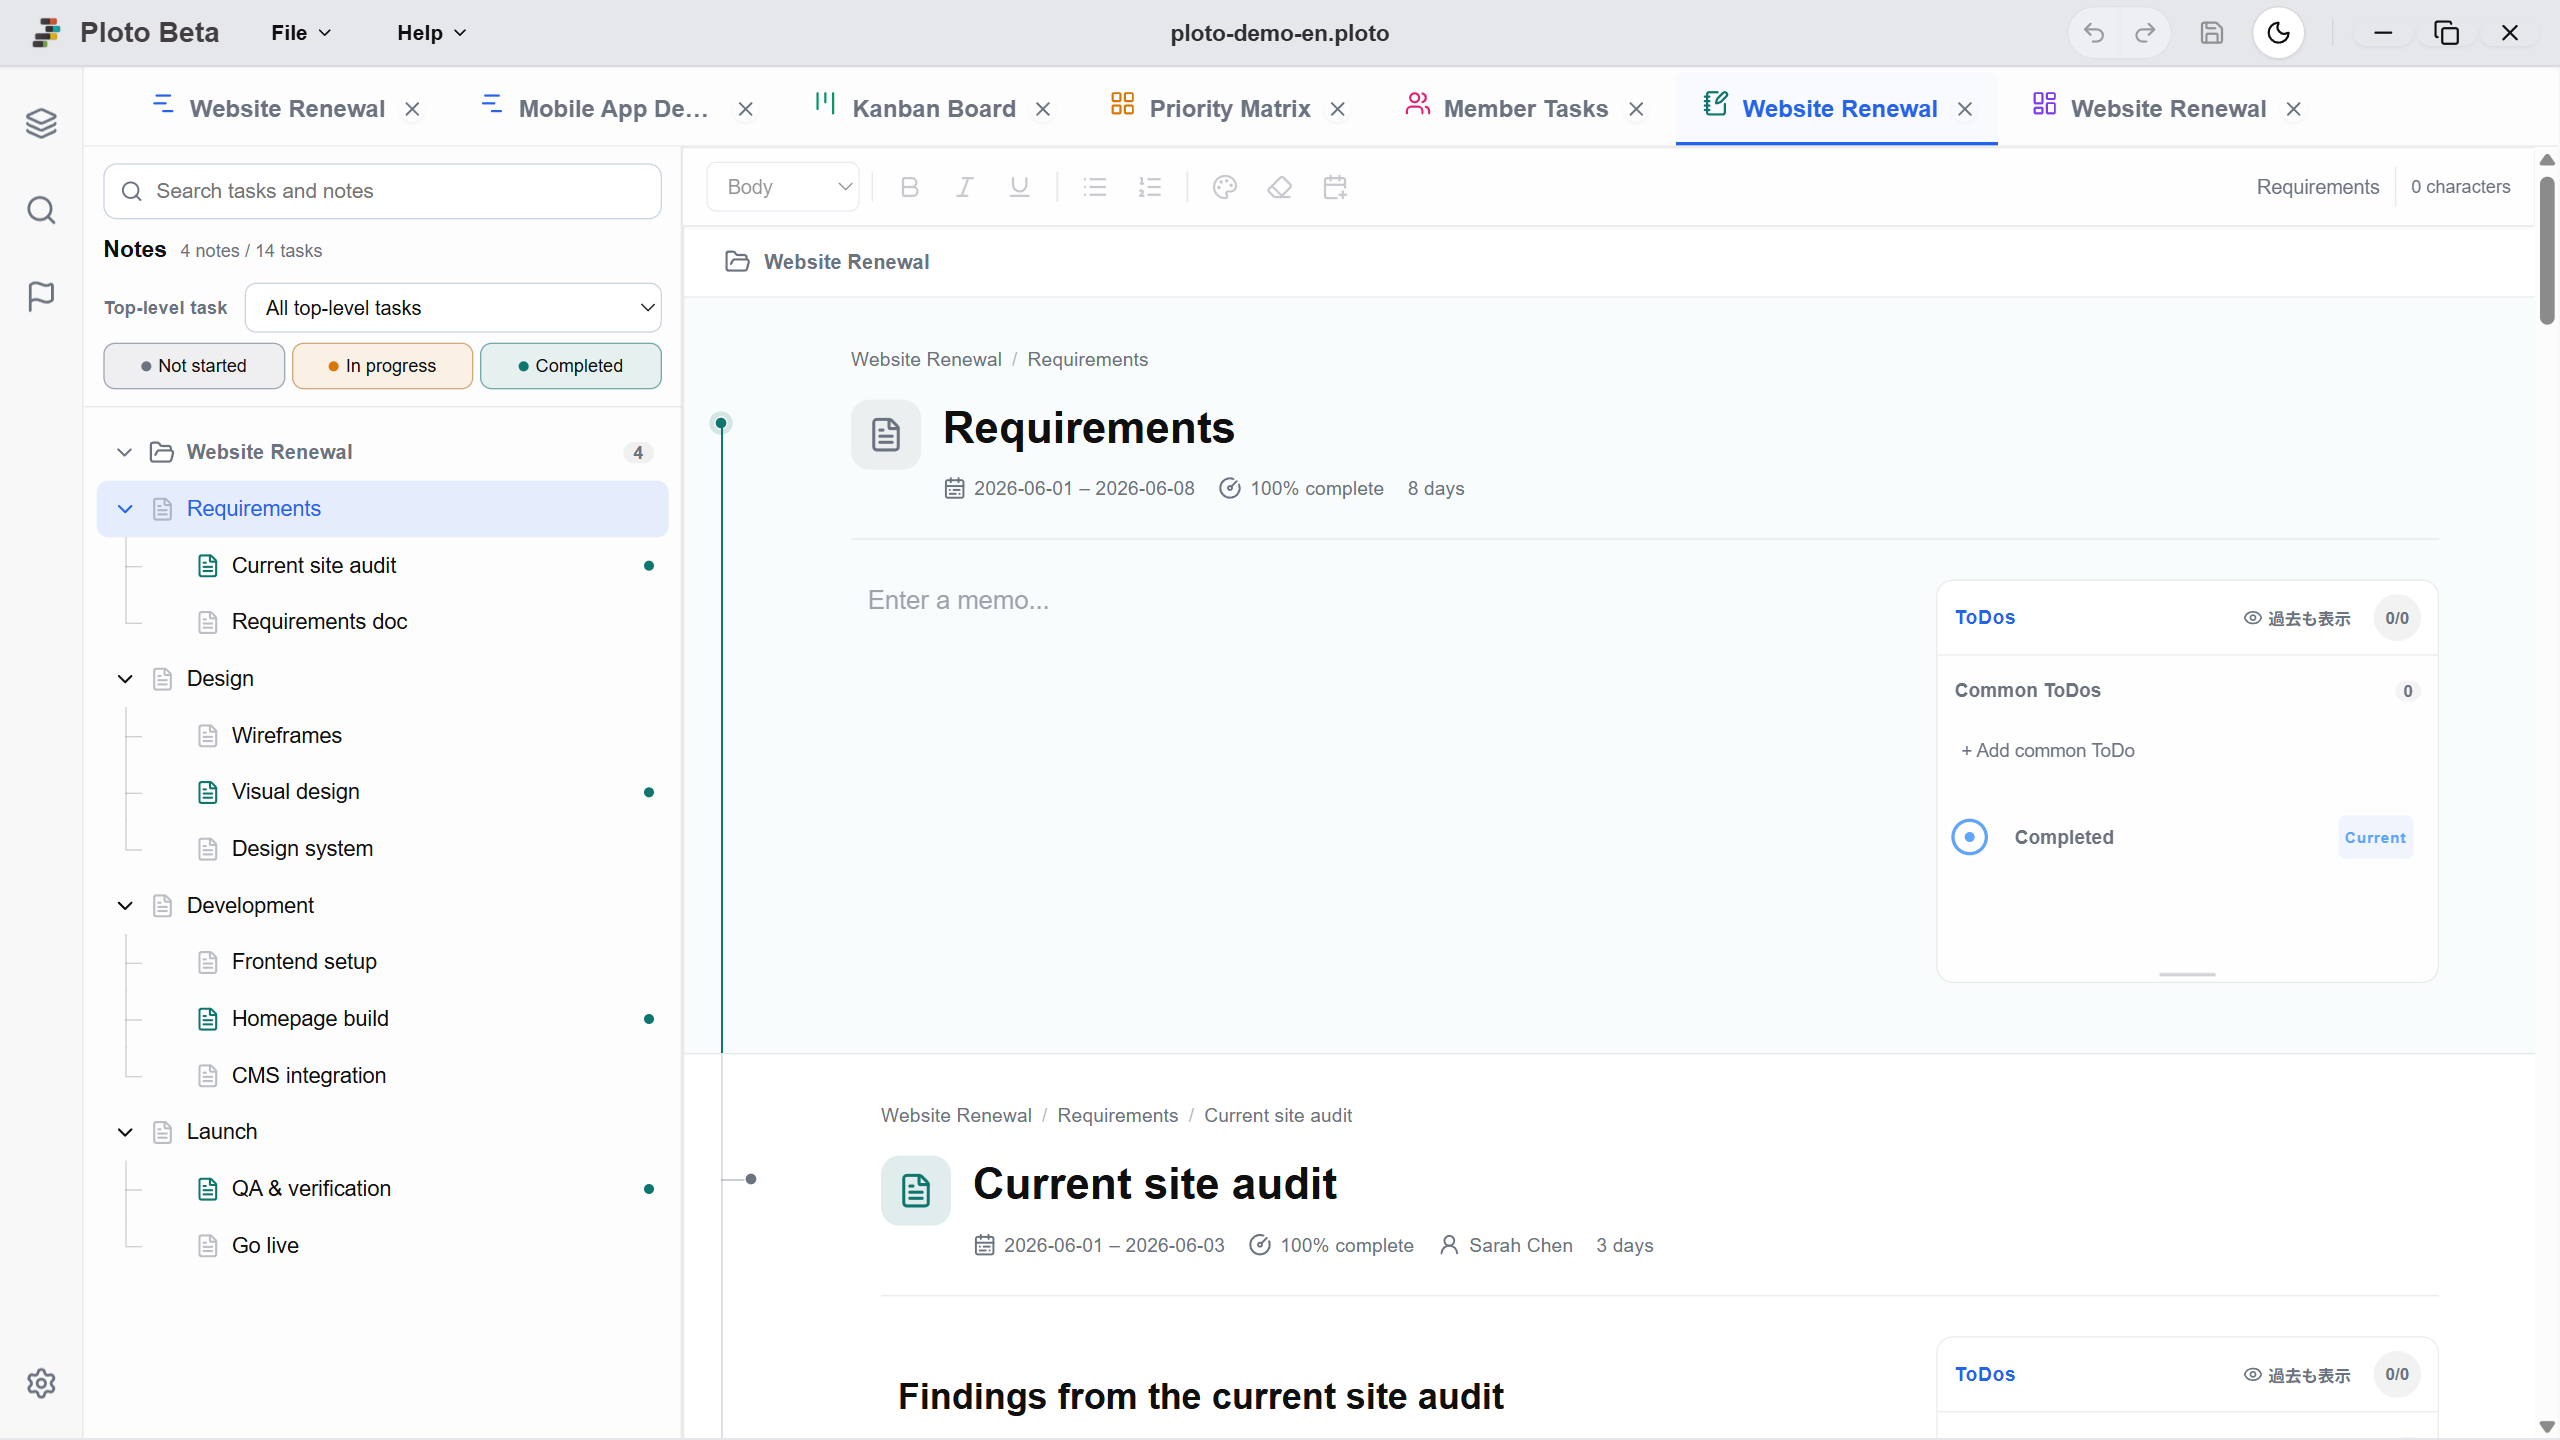
The outline on the left mirrors the task hierarchy of your schedule. Click an entry and the body scrolls to that position. The dot to the right of a task name marks 'has a note', so you can see at a glance where records exist. Drag the divider between the outline and the body to give each the width you prefer.
Writing a Note per Task
Click the body area and type up decisions from a meeting or anything you noticed. The content is stored against that task and saved together with the project file. Each task heading also shows its duration and progress rate, so you can check the current state while writing.
Formatting Your Text
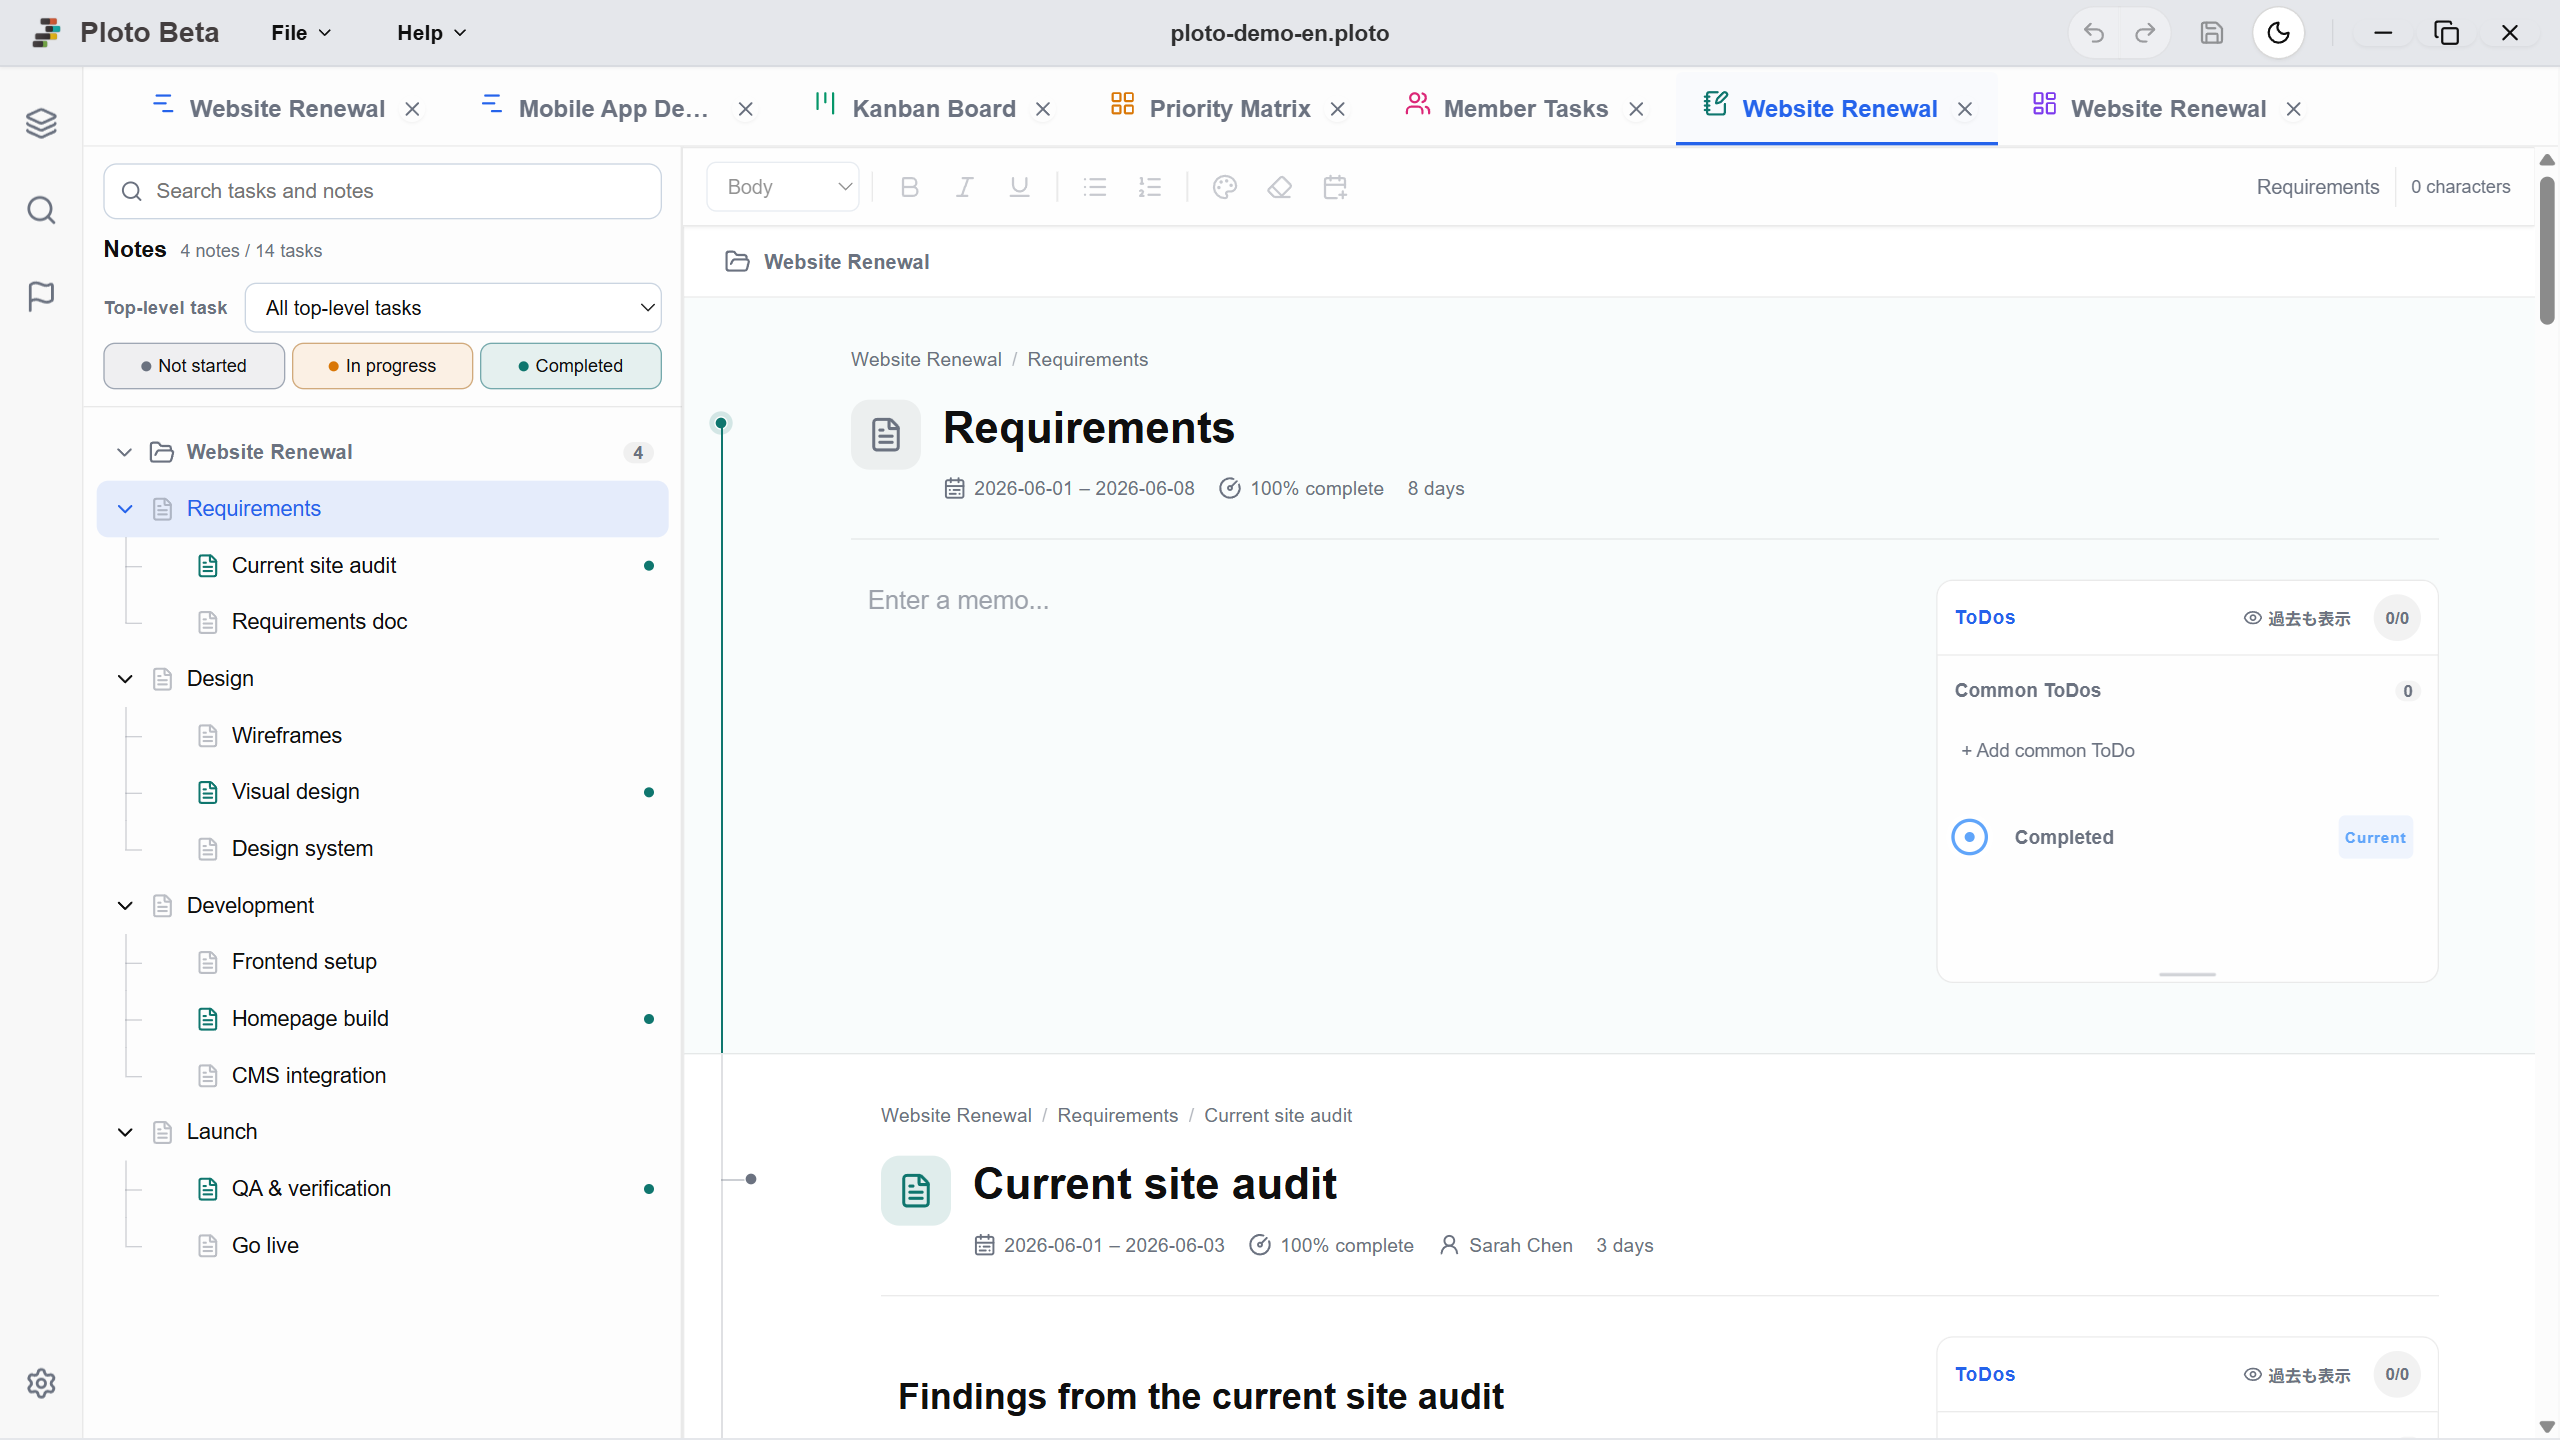
The formatting bar at the top helps you shape a long record into something you can read back.
2. The Link to Your Tasks
A note is not a separate notepad — it is written onto the task itself.
Notes and Memos Are the Same Thing
What you write in a note is exactly what appears in the 'Memo' tab of that task's details panel. There are not two places to write; whichever you use, it lives in the same single place. Think of the Note view as a screen that lines up every task's memo vertically so you can read them as one document.
Working with Details and ToDos While Writing
Press the icon to the left of a task heading to open that task's details panel, putting assignee, duration, and color within reach without leaving the note. The 'ToDo' area to the right of the body is that task's actual ToDo list — click a circle to complete an item and the progress rate moves accordingly. You can keep the work moving while you write.
3. Finding What You Wrote
A record only earns its keep if you can find it later.
Searching Across Note Bodies
The search box at the top left searches note bodies, not just task names, so you can work back from 'where did I write that?'. The payoff grows as your records do. Only matching tasks remain, with their parents still shown in hierarchy, so you read each result already knowing which stage it belongs to. Clear the box to return to the full view.
Filtering
Narrow the view by project, top-level task, or progress state (not started, in progress, done). Choosing 'With notes only' lists just the tasks that have records, which suits reading back minutes or putting together handover material.