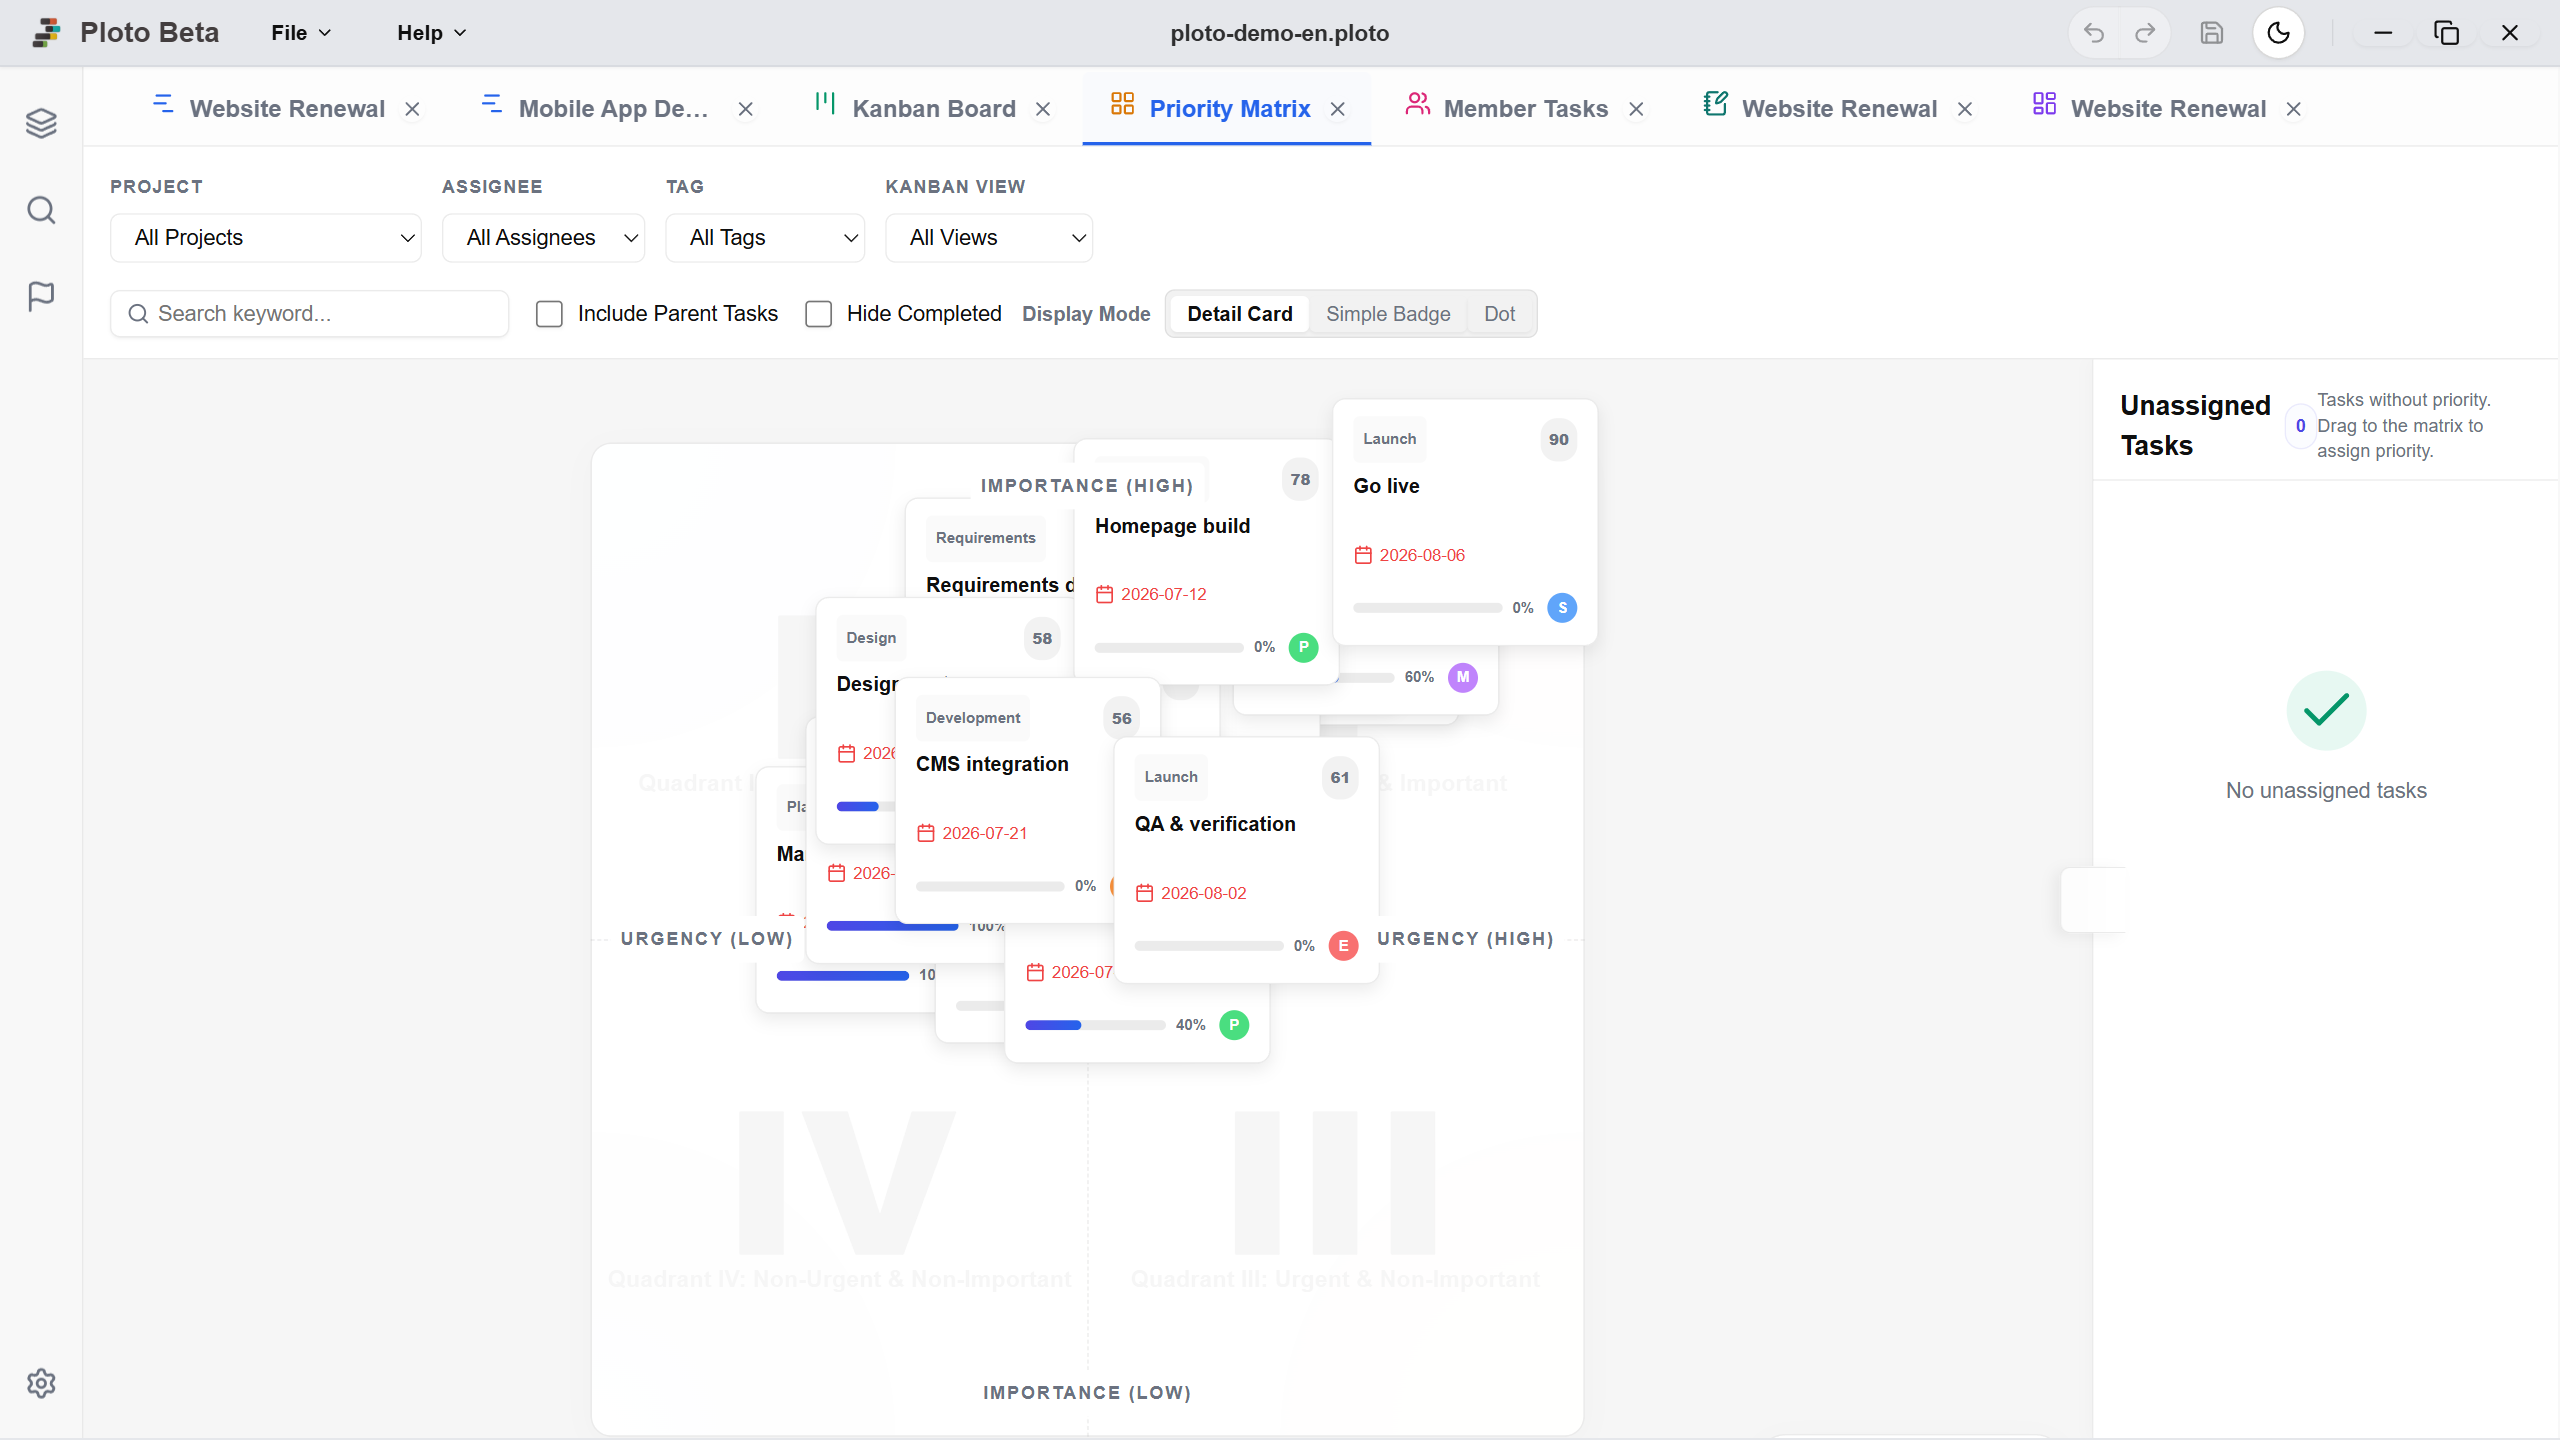
This section explains common screen operations and how to save/manage files in Ploto.
1. Startup Screen
When you launch Ploto, a start popup will first appear to create or open projects.
Creating a New Project
Clicking the 'Create New Project' button opens a new empty project so you can start managing tasks right away.
Opening Existing Files
Clicking the 'Open Local File' button opens a file selection dialog to load and resume editing a `.ploto` file saved on your PC.
Recently Opened Projects
Projects you have previously opened in Ploto are listed. You can quickly open them with a single click without searching for the file path.
2. File & Help Menu
From the menu on the left side of the top header, you can manage project files and view various information.
File Menu
The 'File' menu allows you to perform the following: • **New**: Create a new project file. • **Open**: Select and load a project file (.ploto) from your PC. • **Save**: Overwrite and save the current project. • **Save As**: Save the project under a new file name. • **Excel Export / Print [PRO]**: Export Gantt charts or task lists as Excel or PDF (Pro features).
Help Menu
The 'Help' menu allows you to perform the following: • **Manual**: Open this manual page. • **Changelog**: View the app update history. • **License**: View license information. • **Language**: Switch the app language (Japanese, English, German, French, Korean).
3. Sidebar Features
By clicking the icons on the left sidebar, you can display panels for switching project views, searching tasks, managing milestones, and adjusting settings.
Sidebar Panels (3 Types)
The main sidebar menus are as follows:
List:
Add or switch between project views, including Gantt charts, Kanban boards, priority matrices, member-specific tasks, and whiteboards.
Task Search:
Type in a task name to search for tasks within the project by keywords.
Milestones:
Manage and check lists of important milestones set in the project.
Settings:
Configure application settings.
4. Header Controls
From the buttons on the top right, you can perform quick operations and adjust settings.
Undo / Redo
Using the arrow icons (or shortcuts Ctrl+Z / Ctrl+Y), you can revert or redo your recent actions.
Manual Save
Click the floppy disk icon to immediately save your current changes manually (the app autosaves, but you can also save manually at any time).
Theme Switcher
Click the moon/sun icon to toggle between light and dark mode.
How to Use Gantt Chart
The Gantt Chart, the core feature of Ploto, allows you to visually manage your project's tasks and schedules. With intuitive drag-and-drop operations, you can easily change durations and move tasks.
Gantt Chart
1. Basic Operations
Here are the most fundamental operations for the Gantt Chart. You can intuitively build your schedule using mouse actions.
Adding and Switching Projects (Multi-Tab)
In Ploto, you can manage multiple projects simultaneously within a single file. Click the 'List' button on the far left sidebar to open the panel, then click the '+' button in the Project section to add a new project. Added projects will appear as 'tabs' at the top of the screen. Simply click a tab to instantly switch between different Gantt charts.
Adding and Deleting Tasks
Click the '+' button at the top of the task list (grid) on the left, or at the right end of each row, to add a new task. To delete a task, right-click the task name and select 'Delete' from the menu, or select the task and press the Delete key.
Adjusting Duration (Drag & Drop)
Drag the left or right edge of a task bar (blue bar) on the chart to change the start or end date. Drag the center of the bar to move the entire schedule left or right while maintaining the duration (number of days).
Setting Dependencies (Links)
You can define sequential relationships (predecessor/successor) between tasks. Drag the circular dot at the edge of a task bar and connect it to another task bar to create a link (dependency). Double-click the link line to delete it.
Updating Progress
Drag the small slider inside the task bar left or right to change the progress rate (0% to 100%). The progress is visually represented by the darker fill inside the bar.
Task Details Settings (Details, ToDo, Memo)
Double-click a task or click the details button to open the 'Details Panel' on the right side of the screen. This panel contains three tabs where you can edit basic parameters, manage ToDos, and write formatted notes.
1. Details Tab (Basic Info Settings)
Configure various basic items related to the task, such as task name, progress rate, priority, duration, and start date/time.
2. ToDo Tab (Task Breakdowns)
Enter a detailed checklist (ToDo list) associated with the task. You can assign an individual due date and assignee to each ToDo item.
3. Memo Tab (Formatted Notes)
Write detailed notes or instructions for the task. Rich-text formatting such as bold, italics, and lists is supported.
2. Advanced Features
Features designed to make your project management more detailed and robust.
Holiday & Company Off-day Settings
In addition to standard weekends, you can register public holidays or unique company-specific holidays in the calendar. Days designated as holidays are grayed out on the chart and automatically excluded from active duration calculations, allowing you to create plans based on actual working days. *The function to import national holidays in bulk is a premium (Pro) feature (manual addition/editing is available for free).
Health Alert Line
Automatically evaluates task health based on current progress and today's date. Lines for 'Overdue (Red)', 'Delayed Start (Yellow)', and 'On Track (Green)' are automatically displayed on the left edge of the task bar, letting you identify tasks that require immediate attention.
Undo / Redo
Don't worry if you make a mistake. Just like in Excel, you can use the keyboard shortcuts Ctrl + Z (Undo) and Ctrl + Y (Redo) to revert or re-apply your recent actions step-by-step.
📋
Coming Soon
The manual for this feature is currently under preparation. Please stay tuned for future updates.
🎯
Coming Soon
The manual for this feature is currently under preparation. Please stay tuned for future updates.